A leaking toilet can be more than just an annoyance; it can lead to significant water waste and damage to your bathroom if not addressed promptly. At Franklin Plumbing, we understand the importance of maintaining a functional and efficient toilet, and we’re here to help you tackle any leaks with confidence.
This comprehensive guide will walk you through the steps to identify, diagnose, and fix a leaking toilet. We’ll also answer some frequently asked questions to ensure you have all the information you need.
Understanding the Common Causes of Toilet Leaks
Before diving into the repair process, it’s crucial to understand the common causes of toilet leaks. This knowledge will help you identify the source of the problem more accurately.
1. Faulty Flapper
The flapper is the rubber valve that seals the opening between the toilet tank and bowl. Over time, it can become worn or damaged, leading to water leaking from the tank into the bowl.
2. Worn Out Fill Valve
The fill valve controls the water flow into the toilet tank. If it becomes worn or damaged, it can cause the toilet to leak water into the tank continuously.
3. Cracked Tank or Bowl
Cracks in the toilet tank or bowl can lead to leaks. These cracks may be the result of age, impact, or manufacturing defects.
4. Loose or Worn Out Seals
Toilets have several seals that can become loose or wear out over time. The most common seals that may cause leaks are the base seal, the tank-to-bowl seal, and the flapper seal.
5. Improper Installation
A toilet that was not installed correctly can develop leaks. This can include issues with the wax ring, bolts, or connections.
How to Diagnose a Leaking Toilet
Diagnosing a leaking toilet involves a few simple steps to pinpoint the source of the leak.
Step 1: Check the Flapper
Lift the lid of the toilet tank and inspect the flapper. Ensure it is seated properly and creates a good seal. If you notice any wear or damage, the flapper may need to be replaced.
Step 2: Inspect the Fill Valve
Check the fill valve for any signs of wear or damage. Listen for any continuous water flow into the tank, which indicates a malfunctioning fill valve.
Step 3: Look for Cracks
Examine the toilet tank and bowl for any visible cracks. Even small cracks can lead to significant leaks over time.
Step 4: Check the Seals
Inspect the seals around the base of the toilet, the tank-to-bowl connection, and the flapper. Look for any signs of water leakage or damage.
Step 5: Perform a Dye Test
A dye test can help identify leaks. Add a few drops of food coloring or a dye tablet to the toilet tank. Wait for about 15 minutes without flushing the toilet. If the dye appears in the toilet bowl, there is a leak.
Step-by-Step Guide to Fixing a Leaking Toilet
Once you have identified the source of the leak, follow these steps to fix the problem.
Tools and Materials Needed
- Adjustable wrench
- Screwdriver
- Plumber’s tape
- Replacement flapper
- Replacement fill valve
- Wax ring (if needed)
- Sponge and bucket
- Towels
Fixing a Faulty Flapper
- Turn Off the Water Supply: Locate the shut-off valve behind the toilet and turn it clockwise to stop the water flow.
- Drain the Tank: Flush the toilet to drain the water from the tank. Use a sponge and bucket to remove any remaining water.
- Remove the Old Flapper: Disconnect the flapper from the chain and the overflow tube.
- Install the New Flapper: Attach the new flapper to the overflow tube and connect the chain. Ensure it creates a good seal.
- Turn On the Water Supply: Turn the shut-off valve counterclockwise to restore the water flow. Check for leaks.
Replacing a Worn Out Fill Valve
- Turn Off the Water Supply: Turn the shut-off valve clockwise to stop the water flow.
- Drain the Tank: Flush the toilet and use a sponge to remove any remaining water.
- Remove the Old Fill Valve: Disconnect the water supply line from the bottom of the tank. Use a wrench to remove the locknut and take out the old fill valve.
- Install the New Fill Valve: Place the new fill valve in the tank and secure it with the locknut. Reconnect the water supply line.
- Adjust the Fill Valve: Adjust the height of the fill valve according to the manufacturer’s instructions.
- Turn On the Water Supply: Turn the shut-off valve counterclockwise to restore the water flow. Check for leaks and proper operation.
Repairing a Cracked Tank or Bowl
- Assess the Damage: Small cracks can sometimes be repaired with epoxy or sealant, but larger cracks may require replacing the entire tank or bowl.
- Drain the Tank: Turn off the water supply and flush the toilet to drain the tank. Use a sponge to remove any remaining water.
- Apply Epoxy or Sealant: Follow the manufacturer’s instructions to apply epoxy or sealant to the crack. Allow it to cure fully before turning on the water supply.
- Replace the Tank or Bowl: If the crack is too large to repair, you will need to replace the tank or bowl. This may require professional assistance.
Tightening or Replacing Seals
- Identify the Leaking Seal: Inspect the seals around the base of the toilet, the tank-to-bowl connection, and the flapper.
- Turn Off the Water Supply: Turn the shut-off valve clockwise to stop the water flow.
- Drain the Tank: Flush the toilet and use a sponge to remove any remaining water.
- Tighten or Replace the Seal: Use a wrench to tighten any loose bolts or replace the seal if it is worn or damaged.
- Turn On the Water Supply: Turn the shut-off valve counterclockwise to restore the water flow. Check for leaks.
Addressing Improper Installation
- Assess the Installation: Check for any obvious installation errors, such as loose bolts or misaligned parts.
- Turn Off the Water Supply: Turn the shut-off valve clockwise to stop the water flow.
- Reinstall the Toilet: If necessary, remove the toilet and reinstall it correctly. Ensure the wax ring, bolts, and connections are properly aligned and secure.
- Turn On the Water Supply: Turn the shut-off valve counterclockwise to restore the water flow. Check for leaks.
Frequently Asked Questions (FAQs)
How do I know if my toilet is leaking?
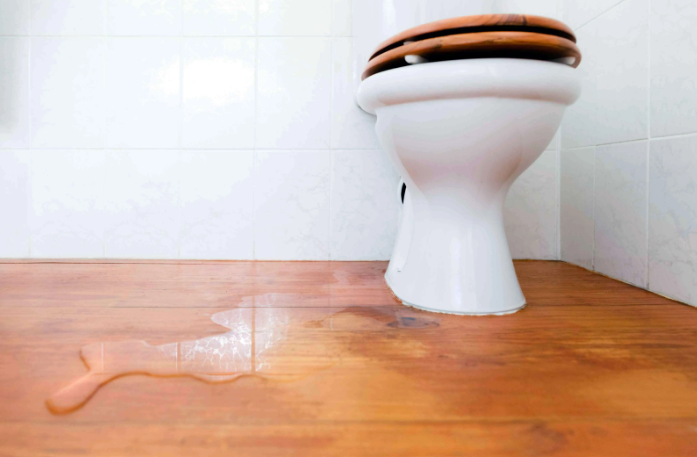
Common signs of a leaking toilet include hearing water running continuously, water stains on the floor around the toilet, and the toilet tank refilling on its own. Performing a dye test can help confirm a leak.
Can a leaking toilet increase my water bill?
Yes, a leaking toilet can waste a significant amount of water, leading to higher water bills. Fixing leaks promptly can save water and reduce your utility costs.
Is it difficult to fix a leaking toilet?
Fixing a leaking toilet can be relatively straightforward if you have basic plumbing skills and the right tools. However, if you are unsure or uncomfortable with the process, it is always best to consult a professional plumber.
How long does it take to fix a leaking toilet?
The time required to fix a leaking toilet depends on the source of the leak and your level of experience. Simple repairs, such as replacing a flapper or tightening a seal, can take about 30 minutes to an hour. More complex repairs may take longer.
What should I do if my toilet is still leaking after attempting repairs?
If your toilet continues to leak after attempting repairs, it may be best to call a professional plumber. There could be underlying issues that require expert diagnosis and repair.
Conclusion
A leaking toilet can be a frustrating and costly problem, but with the right knowledge and tools, it is often possible to fix it yourself. By identifying the source of the leak and following the steps outlined in this guide, you can address the issue and restore your toilet to proper working order.
However, if you encounter difficulties or the problem persists, don’t hesitate to seek professional assistance.
At Franklin Plumbing, we are dedicated to providing top-quality plumbing services to help you maintain a functional and efficient home. Whether you need assistance with a leaking toilet or any other plumbing issue, our experienced team is here to help. Contact us today for reliable and professional service.
- Phone: 0421 844 865
- Email: admin@franklinplumbing.com.au
We look forward to assisting you with all your plumbing needs and ensuring your home remains comfortable and leak-free.